Ask any Malibu homeowner what keeps them up at night during storm season, and the answer is often the same: the sound of wind-driven rain and the question of where that water is going. After years working in homes from Point Dume to Carbon Canyon, I have mapped a catalog of patterns—recurring issues that show up again and again when water and building materials collide in our coastal microclimate. Understanding these common water damage restoration issues is the first step toward preventing them or resolving them quickly when they appear. If you want a practical overview of the restoration process before a problem knocks at your door, it helps to review reliable insights on water damage restoration so you can recognize warning signs and act without hesitation.
Wind-driven rain at balcony thresholds
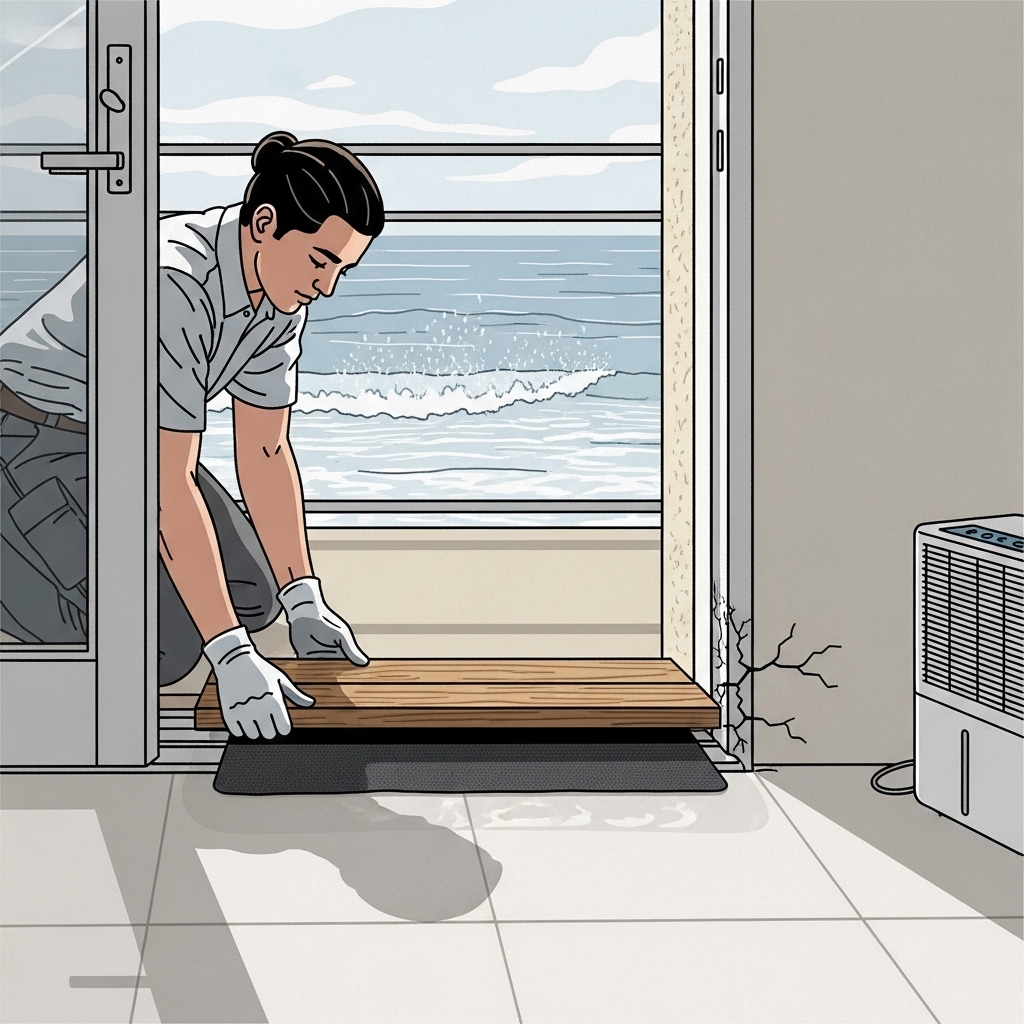
Few details are as frequently implicated in Malibu as balcony and deck thresholds. Salt air gnaws at sealants, and repeated foot traffic accelerates wear. During a strong Pacific storm, wind pushes rain under doors and across sills, then into the subfloor where it can migrate into adjacent rooms. The visible symptom is often a slight darkening along the flooring near the door, but the real damage hides in the underlayment. Restoration here typically involves removing baseboards and a strip of flooring to access the wet zone, setting up containment, and using drying mats to pull moisture from below. A post-restoration fix may include re-sealing, adjusting door sweeps, and confirming that scuppers or drains clear water quickly from the balcony surface.
In beachfront properties, lateral spray makes the problem worse. Water can enter at the jambs rather than just the sill, spreading dampness along the wall cavity. Thermal imaging during the initial assessment is invaluable; it reveals wet streaks that would otherwise go unnoticed until a musty odor appears.
Flat roofs with parapets and ponding
Another common culprit is the flat or low-slope roof with parapets. Leaves from eucalyptus and palm fronds collect at scuppers, and the first heavy rain creates shallow lakes. Even with intact membranes, standing water finds tiny weaknesses at seams and penetrations. I have seen insulation soak up moisture like a sponge, masking the issue until a stain blooms on the ceiling weeks later. Restoration requires opening small inspection holes to verify the extent, then strategic removal of wet insulation and controlled drying of framing. The long-term fix is to improve drainage—larger scuppers, better slope, routine maintenance that anticipates storm cycles rather than chasing them.
Tile roofs present a different twist. Broken tiles are easy to spot, but underlayment fails quietly. Water migrates laterally along battens and enters at unexpected locations. A good restoration partner works with a roofer to trace the source and ensure that drying below is coordinated with repairs above, so the problem does not recur with the next squall.
Stucco cracks and water intrusion
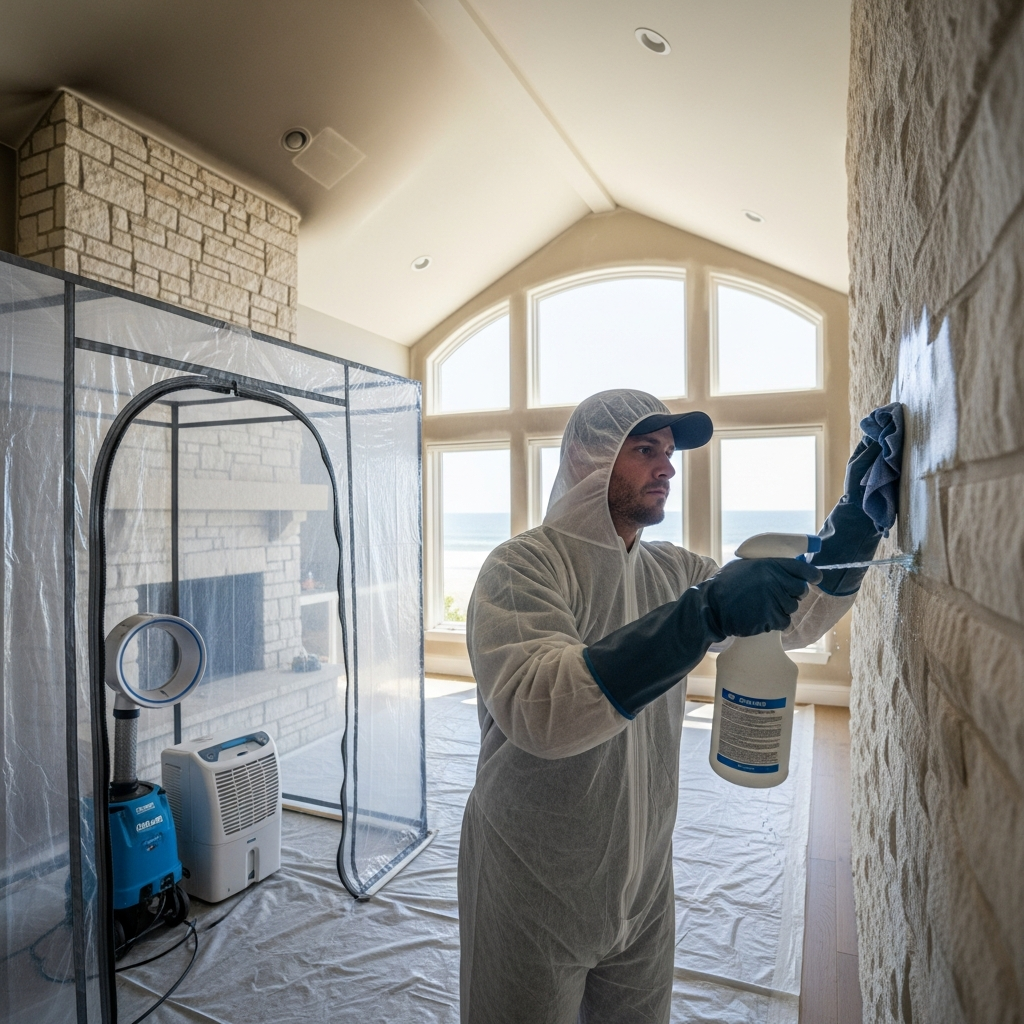
Malibu’s sun bakes stucco; cool mornings shrink it back. Over time, hairline cracks appear, especially around window perimeters. Wind-driven rain targets these lines. Inside, water stains along drywall can show up far from the exterior crack because moisture follows framing pathways. Restoration involves careful moisture mapping, sometimes requiring removal of a band of drywall to allow airflow into the cavity. After dry-down, the exterior must be addressed: elastic sealants suited for coastal conditions, proper flashing, and paint systems that shed water rather than trapping vapor. Neglecting the outside fix is a guarantee that the inside problem will return.
At homes closer to the beach, salt crystallization within stucco can slowly enlarge cracks. This process not only invites water but also undermines the bond of the finish coat. Regular inspections, especially after wind events, keep small repairs small.
Plumbing pinholes and slab leaks
Not all water issues arrive with a storm. Some creep in through pinhole leaks in copper lines or slab leaks that telegraph only a warm spot underfoot. Malibu’s water chemistry and older copper supply lines can set the stage for tiny, persistent leaks. By the time a homeowner notices a higher water bill or hears a faint hiss, moisture has often migrated under flooring and into base plates. Restoration begins with leak detection to stop the source, followed by targeted removal to expose wet materials. Drying under cabinets and behind walls requires careful containment to protect finishes elsewhere in the home.
With slab leaks, time is especially critical. Water spreads quickly under flooring, and adhesives can trap moisture against the slab, slowing evaporation. Negative pressure extraction and dehumidification, combined with maintaining slab temperature, accelerate the process. Long term, repiping sections or installing a manifold system can reduce future risk.
Crawlspaces and hillside drainage
Homes tucked into canyons or set against slopes often include crawlspaces that are out of sight and out of mind—until they are soggy. Poor grading, disconnected downspouts, or clogged area drains allow stormwater to pool against stem walls and seep into the crawlspace. The issue can go unnoticed until a musty odor rises through floor vents. Restoration calls for extracting standing water, removing wet insulation, and drying the space thoroughly with controlled airflow. In some cases, a vapor barrier upgrade and a small dehumidifier keep conditions stable through the foggy months.
Drainage improvements on the exterior make the biggest difference: clearing debris before storm season, extending downspouts away from the foundation, and in some cases, adding a short run of French drain to redirect hillside flow. A post-restoration inspection after the next rain confirms whether the fixes are working.
Efflorescence and mineral staining on stone
Stone patios, entryways, and interior stone floors can show white, powdery deposits after moisture moves through them. In coastal Malibu, salts from sea spray and mineral content in groundwater combine to create efflorescence that mars the look of otherwise beautiful surfaces. Restoration here is as much about chemistry as drying. The affected area must be dried completely, then cleaned with products that neutralize the salts without etching the stone. Sealing after restoration reduces recurrence, though the better long-term solution is managing moisture path and drainage so water does not migrate through the slab in the first place.
Inside the home, stone showers and wet rooms can develop similar issues when ventilation is inadequate. Improving exhaust and adjusting shower use patterns can make a visible difference over time.
HVAC and hidden moisture
Another recurring pattern is moisture accumulating around HVAC components—inside return cavities, around air handlers, or along duct transitions. In Malibu’s cool mornings, condensation can pool where thermal bridging occurs, then drip into cavities that do not see daylight. Restoration includes drying and cleaning those spaces and replacing compromised insulation with closed-cell options where appropriate. Addressing airflow balance and ensuring filters are clean helps prevent moisture from lingering in the system.
In a few cases, I have seen small roof leaks drip into mechanical closets, complicating diagnosis. Thermal imaging and a methodical inspection process prevent chasing ghosts and lead to targeted, effective fixes.
Windows, doors, and coastal corrosion
Salt air is relentless. Fasteners and hinges weaken, weatherstripping compresses, and small gaps turn into easy entry points for driven rain. During restoration after window-related leaks, technicians often discover corrosion that explains why water found its way inside. The short-term job is drying and cleaning; the long-term fix is replacing compromised hardware, upgrading seals, and in some cases moving to materials better suited for marine environments. Regular lubrication and seasonal inspection extend the life of those upgrades.
Large sliding glass doors deserve special attention. Tracks collect sand and debris, which holds moisture and accelerates corrosion. Keeping tracks clean and ensuring drains are clear is a small task that prevents outsized problems later.
Documentation and communication challenges
Homeowners often underestimate how valuable detailed documentation is during restoration. Photos, moisture logs, and daily updates keep everyone aligned and make insurance conversations smoother. In Malibu’s competitive market, that documentation also reassures future buyers that a water incident was handled correctly. The most common issue I see is incomplete records that leave questions unanswered. Working with a team that treats documentation as part of the craft avoids that pitfall.
Communication matters just as much. Clear explanations of what is wet, how wet it is, and how the plan will change if conditions shift help homeowners make informed decisions, especially when choosing between drying in place and removing materials. If you want a baseline understanding of the steps involved, it is smart to read through a concise guide to water damage restoration so you know which questions to ask on day one.
Odor control after drying
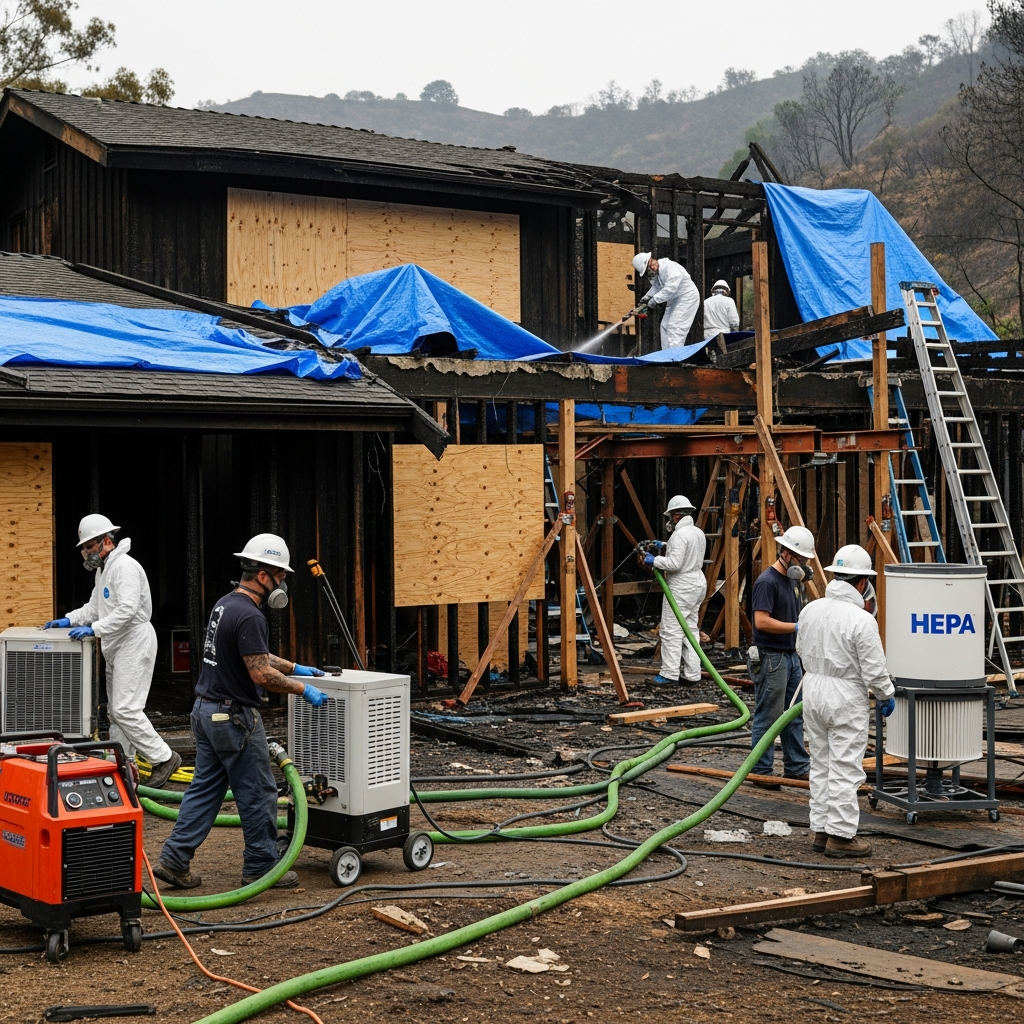
Even when moisture readings are back to normal, odors sometimes persist. That usually points to residues or materials that were affected but not removed—damp carpet pad, baseboard backs, or insulation with trapped dust. Restoration teams address this with targeted cleaning, HEPA filtration during any follow-up demolition, and deodorization that neutralizes the source rather than masking it. If a space still smells musty a week after equipment is removed, call your team back; a thorough final walkthrough should include your nose.
Expectations and realistic timelines
Many homeowners want to know how long the process should take. Most projects in Malibu stabilize within three to five days of drying, with repairs to follow. Complex assemblies—thick plaster, stone, or hardwood—can extend that timeline, and atmospheric conditions matter. The key is daily monitoring and transparent reporting so you understand progress. Rushing is as risky as waiting; controlled drying protects finishes and structure alike.
Frequently Asked Questions
What is the first sign of hidden water damage I should watch for?
Subtle changes often come first: a faint musty odor near a wall, slight cupping in hardwood, or paint that bubbles unexpectedly. Infrared imaging during an inspection can reveal moisture before it is visible, which is why a professional assessment is valuable after heavy storms.
Can I prevent balcony threshold leaks?
You can reduce the risk by maintaining seals, adjusting door sweeps, keeping tracks clear, and ensuring balcony drains or scuppers are unobstructed before storms. After high-wind events, inspect for sand or debris that may have compromised the seal.
How do I know if my flat roof is ponding?
Look for stains or dirt rings that outline standing water after rain. If water sits longer than 48 hours, consult a roofer about improving slope or enlarging scuppers. During restoration, technicians may also suggest temporary measures to move water off the roof safely.
Are slab leaks always obvious?
No. Sometimes the only sign is a warm spot on the floor, a higher water bill, or a faint hissing sound. Leak detection with acoustic or thermal tools is the fastest way to confirm. Once the source is fixed, targeted drying protects flooring and subfloor materials.
Why does odor linger after drying?
Odor typically indicates residual moisture or contaminated materials that were not removed. Carpet pad, insulation, or the backs of baseboards can hold odor. A follow-up visit focused on these potential reservoirs usually resolves the issue.
If you recognize any of these issues in your own home, do not wait for the next storm to test your luck. Schedule a focused inspection and get a plan on paper before the forecast shifts. To understand the flow from assessment to final clearance and to be ready with the right expectations, review professional water damage restoration and take the first step toward a drier, more resilient Malibu home.