Water is essential to life in Canoga Park, but when it escapes pipes, appliances, roofs, or windows, it can quickly turn a comfortable home into a stressful emergency. Whether the cause is a sudden plumbing failure, storm-related intrusion, or a slow leak that finally reveals itself, the pathway back to a clean, dry, and healthy home follows a clear series of actions. This step by step guide explains what to do, why each step matters, and how to avoid the common mistakes that prolong damage or create future problems. If you need professional help at any point, do not hesitate to reach out for expert water damage restoration so the situation is contained and corrected as efficiently as possible.
Understanding Your Water Damage Scenario In Canoga Park
Canoga Park homes and businesses experience water issues for a variety of reasons, including aging supply lines, clogged drains, HVAC condensate leaks, and wind-driven rain. Local weather patterns can feature hot, dry spells followed by bursts of moisture, which cause expansion and contraction in building materials. That movement can compromise seals around windows, roof penetrations, and stucco cracks, turning a routine drizzle into an interior leak. To plan effectively, you first need to understand where water came from, how much material it touched, and whether the water source is clean, gray, or potentially contaminated.
In restoration, water is often categorized by source and cleanliness. Category 1 typically originates from a clean supply line. Category 2 may include dishwasher or washing machine discharge. Category 3 involves water that could contain contaminants, such as backed-up drains or outdoor floodwater. Identifying the category helps you make safe choices about what to salvage, how to disinfect, and what protective measures are necessary for anyone entering the affected area.
The First Hour: Safety And Stabilization
The very first actions you take can dramatically reduce overall damage. Begin by turning off electricity to affected circuits if water has contacted outlets, cords, or appliances. Avoid stepping into pooled water near live power. If you can safely identify and access the leak source, close the nearest shutoff valve or the main water supply to stop the flow.
- Protect yourself with gloves and footwear, especially if the water source is uncertain or the area includes debris.
- Move children, pets, and anyone with respiratory sensitivities away from the affected rooms.
- Place aluminum foil, plastic, or wood blocks under furniture legs to prevent staining and wicking.
- Open windows and doors if weather allows, promoting air exchange and reducing humidity.
- Document conditions with photos and short video clips before moving items; documentation is valuable for insurance and for tracking progress.
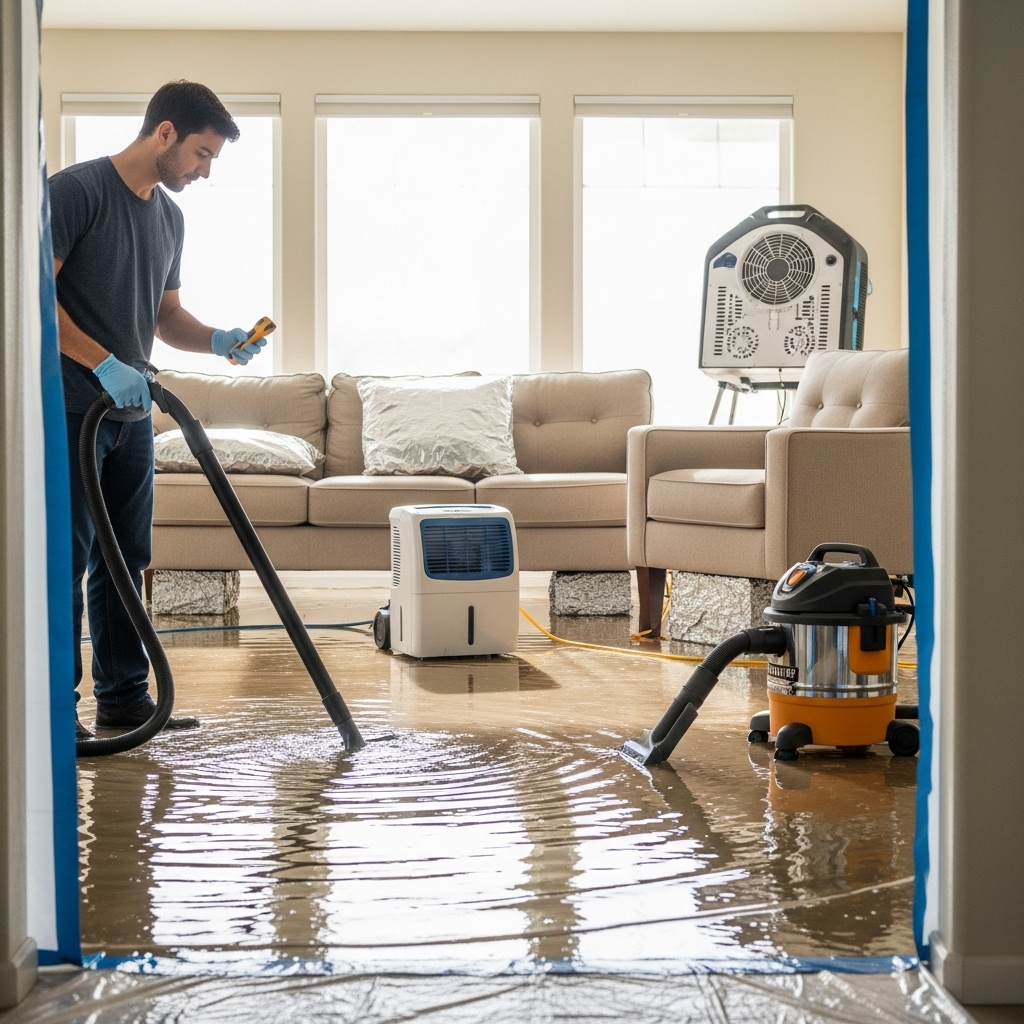
Source Control And Initial Extraction
Once the scene is safe and the water flow is stopped, extraction is the fastest way to reduce damage. The longer water sits, the more deeply it penetrates flooring, baseboards, drywall, and cabinetry. Use a wet/dry vacuum for standing water, working from corners toward the exit so you do not trap yourself in a wet area. Mop up remaining dampness and keep traffic across wet floors to a minimum to prevent spreading contamination.
- Remove saturated area rugs to a dry, ventilated location.
- Lift edges of wall-to-wall carpet, if possible, to check the padding. Padding often acts like a sponge and may require removal for proper drying.
- Empty the contents of wet cabinets and place them on clean, dry surfaces.
- Bag and discard items that are clearly non-salvageable, especially porous materials affected by contaminated water.
Mapping Moisture And Setting Targets
Visible water is only part of the story. Moisture wicks into building materials and hides in cavities. A structured approach to mapping moisture ensures that hidden dampness is not left behind to cause odors or microbial growth. Use a moisture meter to take baseline readings in wet areas and compare them to readings in unaffected rooms. Mark the perimeter of moisture migration on painter’s tape so you can see where drying needs to focus.
Set realistic drying goals based on the dry standard of similar materials in unaffected areas. Drywall, wood framing, concrete slabs, and subfloor assemblies each release moisture at different rates. By measuring regularly, you can make adjustments to airflow and dehumidification to stay on target.
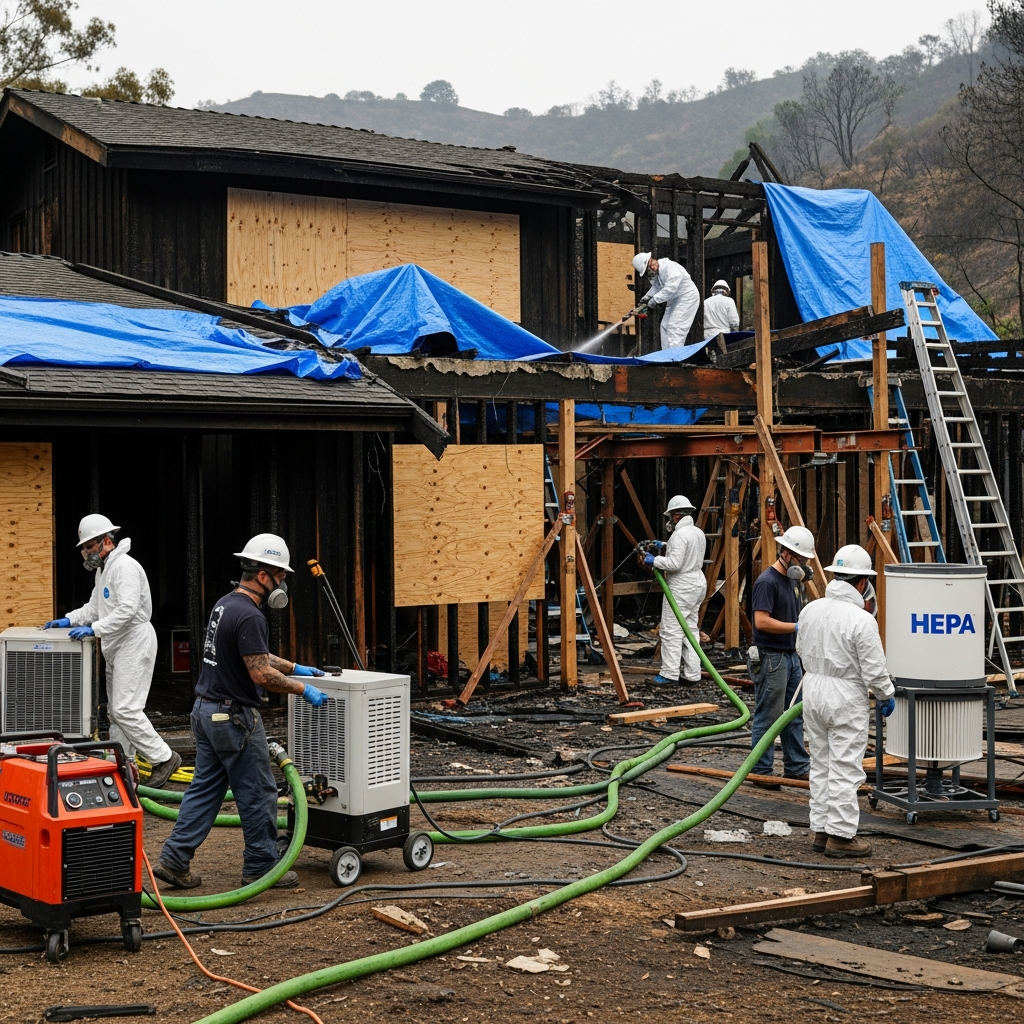
Equipment Setup And Daily Monitoring
Effective drying is a careful balance of airflow, temperature, and humidity. Place air movers to create a continuous, circular flow of air across wet surfaces; angle them so the air travels along walls and across floors instead of pointing directly into a single spot. Add dehumidifiers sized appropriately for the cubic footage and moisture load in the space to capture water vapor released into the air by the air movers.
Containment can speed drying. If the affected zone is limited, hang plastic to separate wet rooms from dry rooms and reduce the total volume that needs conditioning. In multi-story homes, monitor ceilings below wet bathrooms and laundry rooms. If you see bulging drywall or hear water behind paint, carefully punch a small drainage hole with appropriate safety measures to relieve trapped water and reduce the risk of collapse.
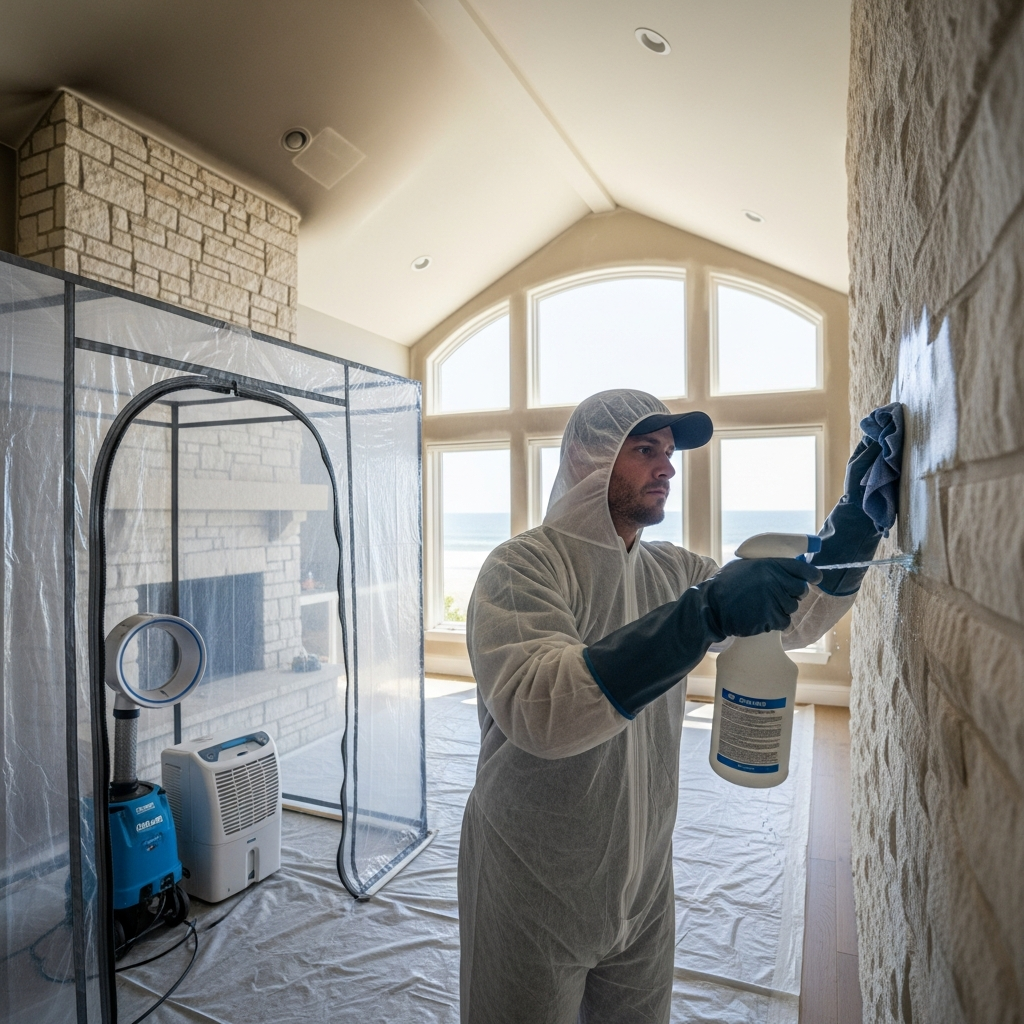
Sanitation And Material Decisions
Not all water-affected materials are equal. Non-porous and semi-porous surfaces can often be cleaned and disinfected. Porous materials like saturated drywall, insulation, and carpet padding may require removal to protect indoor air quality. Use appropriate cleaning solutions for the water category, and wipe surfaces from clean areas toward wet areas to avoid spreading contamination.
- Remove baseboards and drill small weep holes at the base of wet drywall to promote cavity drying.
- Evaluate cabinetry toe-kicks and back panels for swelling or delamination; some materials can be dried with specialized air injection setups.
- Monitor hardwood floors closely; cupping may be reversible with drying mats, but buckling can indicate detachments that need repair.
Mid-Project Quality Checks
About midway through drying, step back and assess progress against your moisture targets. If readings are not trending downward, you may need stronger dehumidification, better airflow patterns, or additional containment. This is also a good time to evaluate whether you are dealing with a larger issue such as a hidden leak or structural channeling of water you have not yet opened up. When the situation is complex or the readings are puzzling, bringing in a professional for specialized diagnostics can save days of trial and error. Local experts in water damage restoration can perform thermal imaging, locate concealed moisture, and adjust equipment placement to accelerate results.
Repair And Rebuild Readiness
Rebuilding too soon is a common error. Paint, texture, or flooring installed over damp materials can trap moisture and lead to failures later. Before you close any wall cavities or reinstall flooring, verify that all readings meet your dry standards. Keep a log of readings by material and location. This record not only protects your investment but also provides evidence for property managers or insurers who need documentation before authorizing repairs.
When materials have reached acceptable moisture levels, proceed with insulation replacement, drywall repairs, painting, reinstalling baseboards, and floor refinishing as needed. Make sure to prime stained areas properly and to address any lingering odors with targeted ventilation or odor counteractants suitable for post-dry environments.
Special Considerations For Canoga Park Homes
Many Canoga Park residences sit on slab foundations, where water can migrate through tile grout, under vinyl planks, or through carpet seams to seemingly distant rooms. Small level differences between rooms can direct flows into low-lying closets or hallways. Stucco exteriors, common in the neighborhood, may hide moisture behind plaster or drywall after wind-driven rain forces water through small cracks. In multi-family buildings, a minor leak in one unit can affect neighbors, so building management coordination is crucial.
Parking and access can influence the speed of professional interventions. If the affected area is far from parking or on an upper floor, plan for extended hose runs and power distribution. In HOA communities, notify management early and check any requirements about noise, equipment placement, or after-hours access, which can affect the drying timeline and supervision.
Documentation For Insurance And Peace Of Mind
Insurance carriers typically want to know when the incident occurred, what caused it, what was affected, and what steps you took to mitigate. Provide clear, dated photos from multiple angles, moisture logs, and a list of all items you removed or cleaned. If you hired help, retain work orders and equipment logs. The more complete your documentation, the faster claims generally move.
Keep in mind that even when an event feels overwhelming, the process is manageable when broken into clear phases. By focusing on safety first, controlling the source, removing excess water, drying methodically, and documenting thoroughly, you protect both the structure and the health of everyone who lives or works in the space.
Frequently Asked Questions
Q: How fast should I start drying after I discover water? A: Immediately after ensuring safety and shutting off the source. Every hour counts because moisture spreads and materials become harder to salvage over time.
Q: Do I always need to remove drywall? A: Not always. If the water category is clean and drywall is only lightly damp, aggressive air movement and dehumidification may be sufficient. If insulation is wet or the water is contaminated, removal at least up to a clear demarcation point is wise.
Q: How do I know when materials are truly dry? A: Compare moisture meter readings to unaffected areas, and confirm that humidity levels and surface temperatures are in a normal range. Drying is complete when readings are stable and at or near the dry standard for your materials.
Q: Can I keep living in the home during drying? A: Often yes, especially when containment controls dust and noise is tolerable. For high-category water, young children, or respiratory concerns, consider temporary relocation for comfort and safety.
Q: What about odors after drying? A: Mild residual odors typically dissipate with continued ventilation. Persistent odors may indicate hidden moisture or materials that were not properly cleaned and may require additional inspection.
Ready To Protect Your Canoga Park Property?
If a recent leak or backup has you worried, do not wait for the problem to grow. Take the first steps outlined here, then bring in a local team that can finish the job thoroughly. Call today to schedule a prompt assessment and start professional water damage restoration so your Canoga Park home returns to a dry, healthy, and comfortable condition as quickly as possible.