Rebuilding after a fire near Malibu, California is a process best approached step by step. By following a clear sequence—safety, stabilization, drying, cleaning, deodorization, and repairs—you can shorten your path to a healthy home and avoid costly mistakes. The guidance below explains each phase in practical detail, with special attention to the coastal conditions that influence timelines and techniques. To coordinate with professionals more effectively, it helps to understand what comprehensive fire damage restoration entails and what you can expect at each stage.
Even small fires can cause complex damage. Smoke travels through cracks and vents, moisture seeps into cavities, and residues interact with paint, metal, and textiles in different ways. Because Malibu’s humidity can extend drying times, your plan should combine careful measurements, equipment that matches the scale of the loss, and realistic scheduling for inspections and repairs.
Think of the process as a chain: each step supports the next. Skipping or rushing a stage—especially drying—can lead to odor rebound, mold, or finish failures later. The following roadmap is designed to help you stay organized and confident.
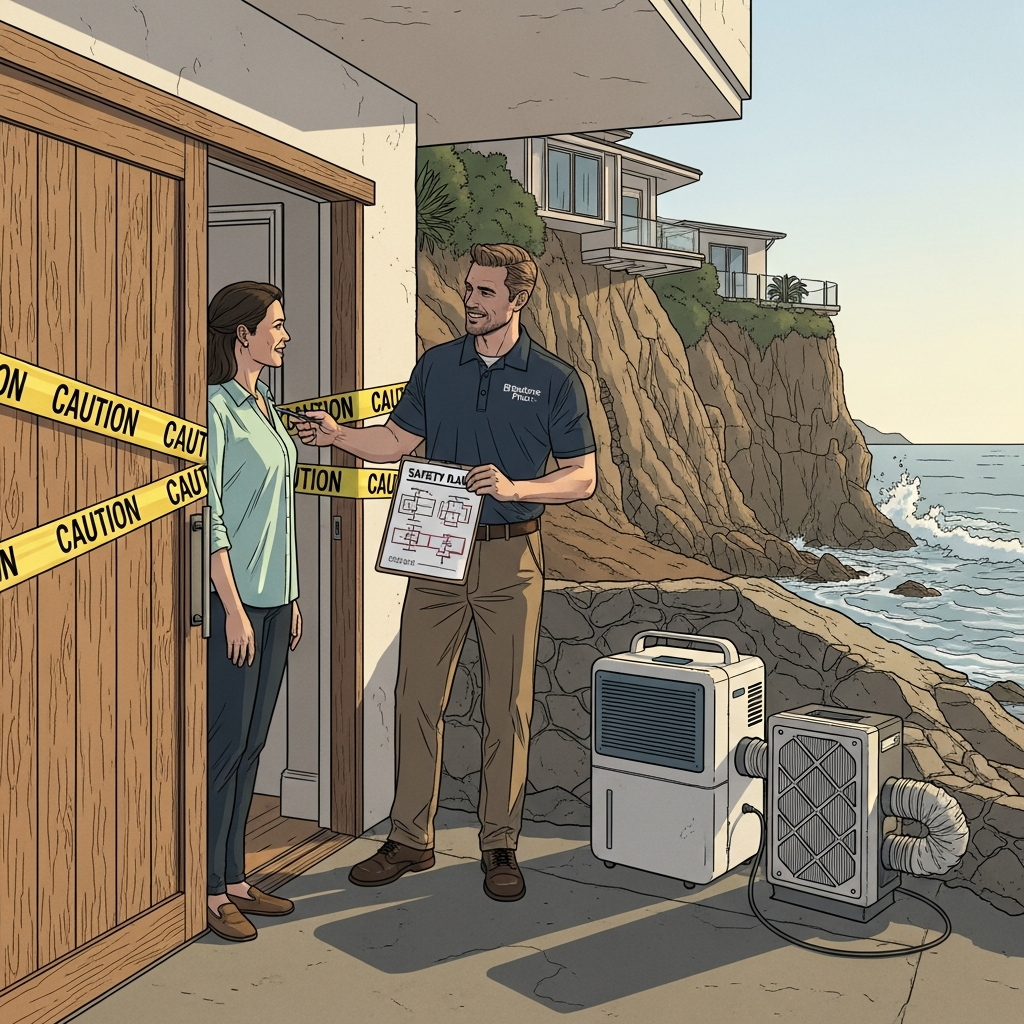
Step 1: Confirm Safety and Secure the Site
Do not enter until officials say it is safe. Wear protective gear and be alert to structural hazards, electrical issues, and poor air quality. Once cleared, secure openings with boards or tarps to deter weather and trespassers. Establish clean pathways with plastic sheeting and walk-off mats to prevent tracking soot into unaffected spaces.
- Shut off utilities and schedule inspections for electrical and gas systems before reactivation.
- Fence off unstable areas and clearly mark unsafe rooms.
- Set up a staging zone for tools and supplies to keep work areas tidy.
Step 2: Document Thoroughly and Create a Plan
Photograph everything before moving items. Build a room-by-room inventory of contents and materials. Draft a plan with phases, target dates, and responsibilities—whether DIY, professional, or hybrid. Early planning reduces downtime and helps coordinate deliveries, dumpsters, and inspections.
Step 3: Extract Water and Start Drying
Water from firefighting can be as damaging as smoke. Extract standing water with pumps and wet vacuums. Lift carpets and remove saturated pads to access subfloors. Pull baseboards and drill weep holes where necessary to ventilate wall cavities. Deploy dehumidifiers and air movers in a balanced setup and track progress with moisture meters. In humid weather, keep windows closed and rely on dehumidification to avoid pulling moist air inside.
- Record baseline moisture levels for framing, drywall, and flooring.
- Reassess daily and adjust air movement to address damp pockets.
- Continue until materials return to normal moisture content ranges.
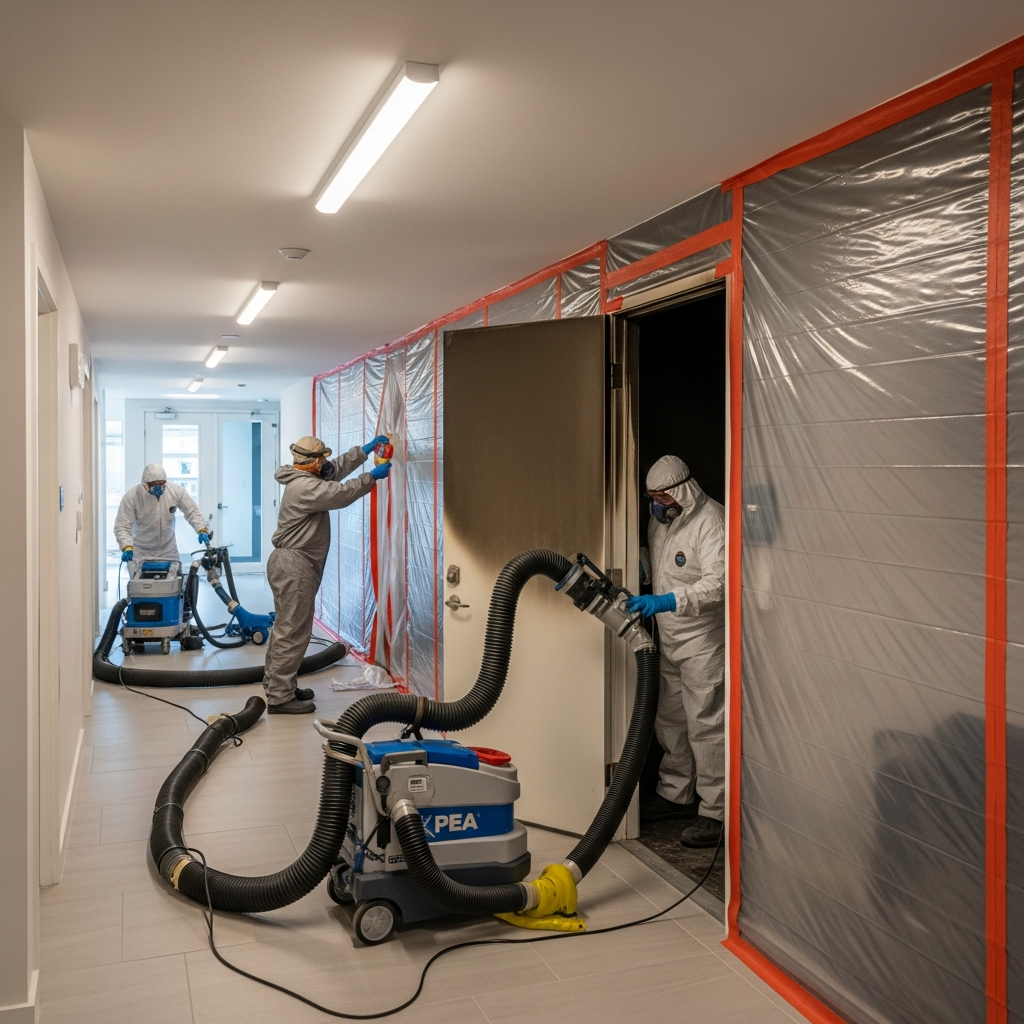
Step 4: Remove Loose Soot and Residues
Start dry. HEPA vacuum ceilings, walls, and horizontal surfaces to lift loose particles. Use dry cleaning sponges to dab (not rub) soot off painted surfaces; replace sponges as they load. Only after dry removal should you proceed to wet cleaning, using solutions appropriate to the surface and residue type.
- Work from the top down and from lightly affected areas to heavily affected ones.
- Use minimal liquid on porous surfaces to avoid spreading stains.
- For protein residues (common in kitchen fires), employ degreasing cleaners and patience.
Step 5: Wet Cleaning and Detail Work
Once loose soot is gone, choose cleaners based on finish type. Semi-gloss paints tolerate mild alkaline solutions better than flat paints, which may require gentler products. For cabinetry and trim, follow wood-safe protocols to avoid discoloration. Rinse cloths frequently and replace buckets of solution to prevent redepositing residues.
Step 6: Contents Handling
Sort items into restore, evaluate, and discard categories. Non-porous items often clean well; porous items need specialized care. Label boxes with room, item category, and condition notes. For electronics, avoid powering up until professionally assessed, as soot can conduct electricity and cause failures.
Step 7: Odor Neutralization
After cleaning, target odors at their source and in the air. Techniques may include thermal fogging to carry deodorants into crevices, hydroxyl generation for occupied spaces, and sealing of structural wood using smoke-blocking primers. Replace HVAC filters and have ducts inspected if contamination is suspected. Effective odor control confirms that cleanup and drying were thorough.
Step 8: Repairs and Finishes
Evaluate structural members for charring depth and integrity. Replace damaged framing and wiring as required by code. Sequence trades logically—rough mechanicals first, then insulation and drywall. Prime with stain- and odor-blocking products before painting. Verify that all materials meet moisture specifications prior to installation to avoid failures.
Homeowner Tips for Malibu’s Climate
Malibu’s coastal air and humidity can extend drying times and encourage corrosion on metals. Use desiccant dehumidifiers for cool, damp days and refrigerant units when warmer. Store new materials in conditioned spaces to prevent moisture absorption before installation. Schedule exterior work around weather forecasts, and secure tarps and dumpsters against sudden winds.
Working With Professionals
Experienced teams bring industrial-grade equipment, advanced cleaning and deodorization methods, and deep knowledge of building systems. They can also coordinate with insurers and handle documentation such as moisture logs and photo reports. If you plan a hybrid approach, clarify scope boundaries and responsibilities. Review what full-service fire damage restoration includes so you can decide which steps to manage yourself and where expert support will save time and reduce risk.
Preventing Secondary Damage
Secondary damage can show up days or weeks after a fire if drying and cleaning are incomplete. Watch for cupping floors, staining, rust on metal fixtures, and odor rebound during humid weather. Maintain controlled humidity, keep equipment running until targets are met, and periodically reinspect hidden spaces such as closets, behind appliances, and inside cabinets.
Insurance and Permitting
Contact your insurer early with thorough documentation. Ask about preferred vendors, required estimates, and coverage for temporary housing and storage. For larger repairs, Malibu, California’s permitting process may require inspections at several milestones. Contractors familiar with local codes can help you avoid delays and coordinate scheduling efficiently.
Frequently Asked Questions
Q: When should I start drying? A: As soon as authorities allow entry. Rapid extraction and dehumidification reduce mold risk and speed recovery.
Q: Can I clean soot with regular household cleaners? A: Start with HEPA vacuuming and dry sponges. Use cleaners matched to surface and residue type, and always test small areas first.
Q: Why does odor return after a week? A: Often because residues remain in porous materials or humidity released trapped smells. Revisit cleaning, sealing, and HVAC filtration.
Q: Is it better to replace drywall than to clean it? A: It depends on soot type, staining severity, and moisture exposure. Lightly affected areas may clean well; heavily damaged sections are often replaced.
Q: Can I live in the home during restoration? A: Some phases permit occupancy, but demolition, heavy cleaning, and deodorization can be disruptive. Temporary relocation may improve comfort and health.
Start Your Step-by-Step Recovery
With a clear process, patience, and the right equipment, you can move from emergency to completion confidently. Secure the site, dry thoroughly, remove residues carefully, neutralize odors, and proceed to repairs in an organized sequence. When you want professional support or need specialized equipment, connect with local teams who specialize in fire damage restoration and understand the unique demands near Malibu, California.