Introduction: Why a Step-by-Step Plan Matters
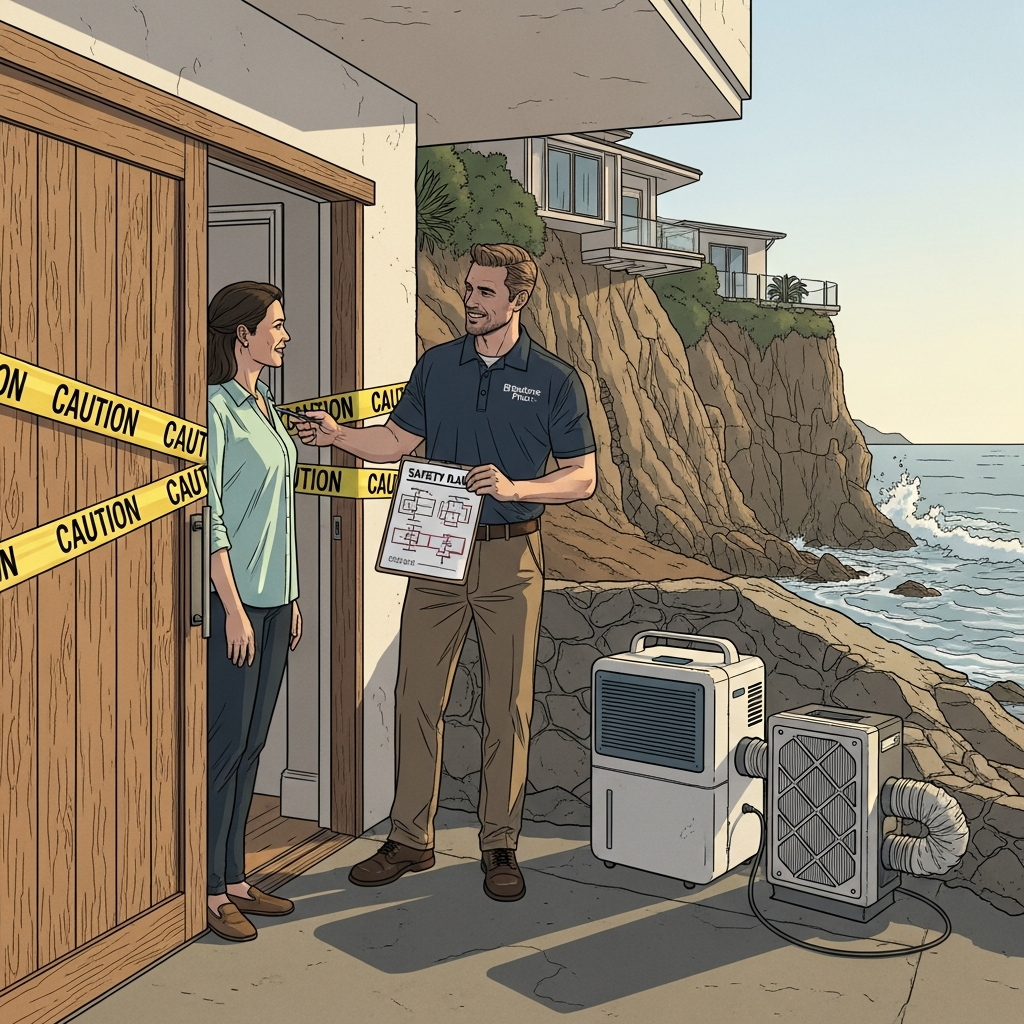
When a fire affects a home in Malibu, California, the aftermath is a complex mix of structural concerns, smoke residues, moisture intrusion, and emotional stress. Without a clear sequence of actions, it is easy to overlook critical steps that prevent secondary damage or protect indoor air quality. A structured process turns uncertainty into progress. From securing the property through to the final walkthrough, each stage builds on the last. If you do not know where to begin, reach out to experienced professionals who specialize in fire damage restoration so you can align resources and restore your living spaces efficiently and safely.
In coastal California climates, the risks of delayed action are higher. Heat and humidity accelerate corrosion and odor absorption, while wind-driven rain can intrude through damaged roofs or windows. A sound, step-by-step plan helps you prioritize measures that stabilize conditions, remove contaminants, and bring the home back to pre-loss comfort. The following sections outline the core phases and explain what to expect during each one.
Step 1: Safety Clearance and Site Security
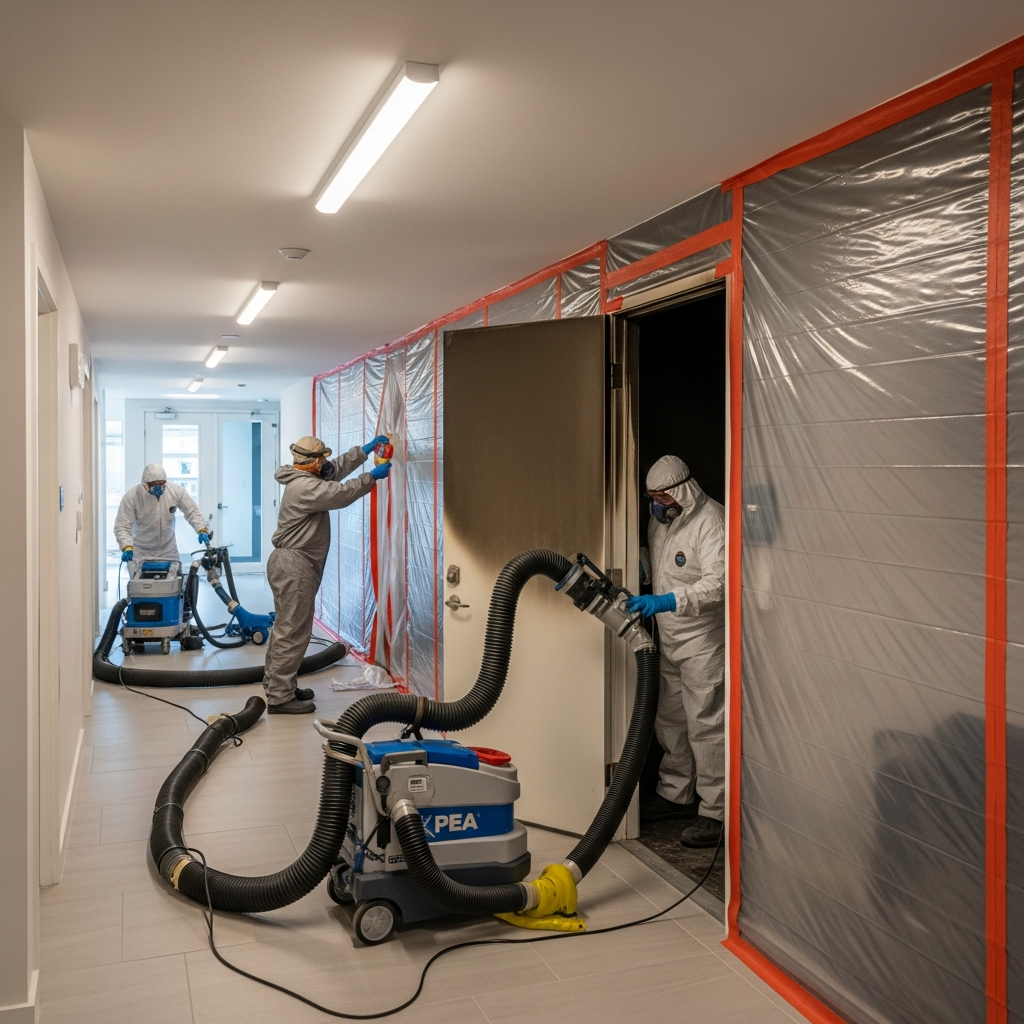
Before any work begins, ensure authorities have declared the site safe. Structural damage, compromised electrical systems, and weakened roofing are serious hazards. Once cleared, the first tasks are board-up and tarping to protect the building envelope. In Malibu, California, this is particularly important because sudden storms and salt air can escalate damage. Securing doors and windows also deters unauthorized access, which safeguards remaining belongings and keeps your claim straightforward.
Next, restoration teams set up controlled ventilation and air filtration if conditions allow. HEPA-filtered air scrubbers help remove soot particles and other airborne contaminants. Negative air pressure may be used to prevent particle spread into unaffected areas. Teams document everything—photos, videos, and damage mapping—to establish a baseline for progress and insurance communications.
Step 2: Water Extraction and Moisture Control
Fires often lead to significant water exposure due to firefighting efforts. Standing water and damp building materials are addressed immediately to prevent swelling, delamination, and microbial growth. Technicians use pumps and extraction tools, followed by dehumidifiers and targeted airflow. They also deploy moisture meters and thermal imaging to locate hidden pockets behind walls and under floors.
Moisture control in a humid climate is ongoing. Even small amounts of residual moisture can cause odors to linger and materials to warp. Establishing daily drying goals, logging readings, and adjusting equipment placement are all parts of a disciplined approach that speeds recovery and informs the larger restoration timeline.
Step 3: Detailed Assessment and Scope Development
With the site stable and drying underway, a comprehensive assessment determines what can be cleaned, what needs repair, and what requires replacement. This includes structural elements, finishes, electrical components, plumbing fixtures, insulation, and mechanical systems. The assessment informs a written scope of work, which becomes the roadmap for the entire project.
Clear scope development avoids redundant efforts. For instance, it ensures that demolition targets only unsalvageable materials and that surfaces are prepared for successful odor sealing and repainting. This plan also coordinates trades so that electrical and plumbing rough-ins occur before walls are closed, and flooring is installed in a clean, dry environment.
Step 4: Controlled Demolition and Debris Removal
Selective removal of charred or irreparably damaged materials is a critical step. Crews carefully bag and remove debris to prevent cross-contamination. Where framing is structurally sound but affected by odor, technicians may clean, treat, and seal the wood with specialized primers. Removing only what is necessary preserves the building’s structure and reduces the scope of reconstruction without compromising indoor air quality.
During this phase, contents may be packed out to a climate-controlled facility for cleaning and storage. A detailed inventory tracks each item from home to warehouse and back, ensuring transparency and easier retrieval when rooms are ready for move-in.
Step 5: Soot, Smoke, and Odor Remediation
Smoke and soot remediation is both meticulous and methodical. Dry cleaning techniques remove loose, powdery soot; wet cleaning with carefully selected detergents addresses heavier, oily residues. Technicians often combine HEPA vacuuming with specialized sponges and agitation tools that lift particulates instead of spreading them around. This measured approach protects delicate finishes and sets the stage for lasting odor control.
Odor removal goes beyond masking agents. After deep cleaning, teams use odor counteractants and technologies such as hydroxyl generators or thermal fogging to neutralize odor at a molecular level. If inspections show odor trapped within wall cavities or subfloors, crews may treat and seal those materials before refinishing. Duct cleaning is often included so the HVAC system does not recirculate contaminants.
Step 6: Contents Cleaning and Restoration
Personal belongings define the comfort and character of your home. Contents technicians evaluate textiles, furniture, electronics, and keepsakes to determine salvageability. Soft goods may be laundered with specialized deodorization processes. Hard goods can be cleaned ultrasonically or by hand. Electronics are assessed for contamination, and powered only after proper cleaning and drying to avoid damage from conductive soot.
Documentation supports every decision. You will receive updates on what is being cleaned, stored, or replaced. Photographic records and itemized inventories help with insurance claims and provide reassurance that your belongings are handled carefully throughout.
Step 7: Odor Sealing, Priming, and Surface Preparation
Once cleaning is complete and materials are dry, odor-sealing primers may be applied to framing, drywall, and other porous surfaces. This step locks in any residual odor and creates a reliable base for paint and finishes. In coastal climates, moisture-resistant materials and sealers can offer long-term benefits, maintaining indoor air quality and protecting against future humidity-related issues.
Surface preparation also includes fine cleaning, HEPA vacuuming, and tack-wiping to ensure that dust and particulates do not interfere with coatings or adhesives. Attention to detail here pays off in the appearance and longevity of your final finishes.
Step 8: Reconstruction and Finish Work
Rebuilding ties the project together. Crews complete framing repairs, replace insulation, install drywall, and perform finish carpentry. Flooring, cabinetry, trim, and paint follow according to the scope. Coordination among trades matters; for example, electrical and plumbing should be completed before walls are closed, and painting should occur before flooring is installed to avoid overspray or dust embedding in finishes.
Quality checks at each stage verify that tolerances, alignments, and surface prep meet expectations. Punch lists near completion allow you and the project manager to confirm details, address minor corrections, and ensure the home is move-in ready.
Step 9: Final Cleaning and Air Quality Verification
Final cleaning is not just cosmetic. It involves HEPA vacuuming of floors and surfaces, damp wiping of fixtures, and polishing of finishes to remove fine dust that can affect indoor air quality. Where appropriate, air quality testing or clearance inspections may be performed to confirm that particulate and odor levels align with healthy living standards.
Only after these checks are complete should contents return to each room. A staged move-in prevents recontamination and makes it easier to resolve any last-minute adjustments before you settle back in.
Communication and Mid-Project Adjustments
Restoration is an evolving process. Midway through, you may discover new priorities, uncover hidden damage, or desire design updates. Regular progress meetings keep everyone aligned on expectations, timelines, and next steps. If you are comparing providers or looking for second opinions, consult local teams experienced in fire damage restoration to validate the plan and ensure your home is trending toward the results you want.
Clear documentation supports every change. Updates to the scope should be written, and photos should illustrate both problems and solutions. This level of transparency reduces surprises and strengthens coordination among insurers, contractors, and homeowners.
Frequently Asked Questions
When should I call a restoration company? As soon as the property is deemed safe. Early stabilization, drying, and odor control prevent secondary damage and accelerate recovery.
What if only one room burned? Even localized fires can spread smoke and soot throughout a home. Airflow patterns and HVAC operation can carry residues far beyond the source, so whole-home assessment is essential.
Do I need to replace all drywall? Not necessarily. Technicians determine what can be cleaned and sealed versus what must be removed based on charring, structural integrity, and odor penetration.
How are odors removed? Effective odor removal combines thorough cleaning, targeted deodorization technologies, and sealing of materials where needed. Masking sprays alone are insufficient.
Are my electronics safe to use? Electronics should be inspected and cleaned before powering on. Soot can be conductive and may cause failure or further damage if devices are used prematurely.
How long does the process take? Timelines depend on fire size, extent of water damage, and scope of reconstruction. Your project manager should provide phased milestones and update them as work progresses.
Can I stay in the home during restoration? That depends on safety, odor levels, and access to unaffected rooms. Your restoration team can advise on temporary arrangements that support health and efficiency.
What can I do to help? Keep detailed records, make timely decisions on material selections, and maintain open communication. Quick approvals help crews maintain momentum between phases.
Ready to Move Forward
Working through a fire’s aftermath requires patience, planning, and a capable team. If you are ready to stabilize conditions, remove contaminants, and rebuild with confidence, partner with professionals focused on fire damage restoration who understand Malibu, California homes and will guide you step by step until your living spaces feel whole again.